|
#61
 Fri 13 April 2012, 08:30
|
|||
|
|||
|
Cutting aluminium is not a problem, but cleanup of chips is, when you work with the machine every day.

|
|
#62
Fri 13 April 2012, 09:15
|
|||
|
|||
|
I agree. Tried it once and decided wood chips smell better as well

|
|
#63
Sat 14 April 2012, 17:10
|
|||
|
|||
|
I love your control box, congratulations for the bender, simple and efficient.

|
|
#64
Sun 15 April 2012, 12:43
|
|||
|
|||
|
Thanks guys
 I am planning to make a cyclone to suck in the wood dust and chips(would be located in the attic), and make a tray inside the table with another cyclone to collect chips from aluminium. On my checklist, along with a proper bender .Last edited by marko cro; Sun 15 April 2012 at 12:48..
|
|
#65
Sun 27 May 2012, 10:26
|
|||
|
|||
|
Another small update made today.
Grinder is ready and eager to work alone. Here's a video http://youtu.be/t210hoRXURs
|
|
#66
Tue 24 July 2012, 04:25
|
|||
|
|||
|
I have a small problem, have grinded the the X-rails to to total od more than 28 mm, I was meassuring form the inside of the rail to the desired top of the rail.
Is there some major changes I will have to make, or i can roll with it as it is? here are the pictures: 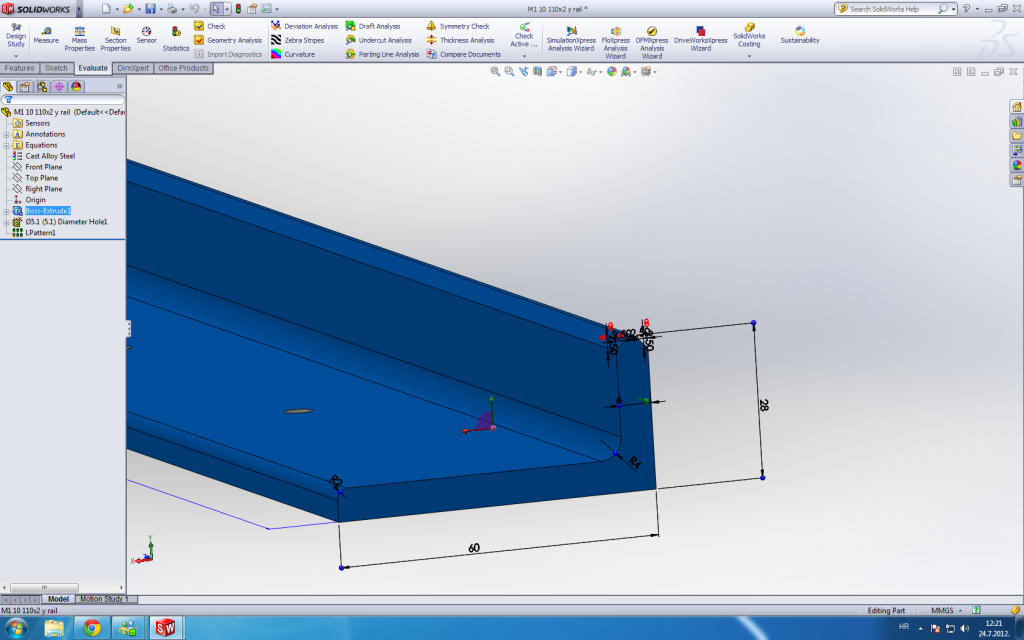 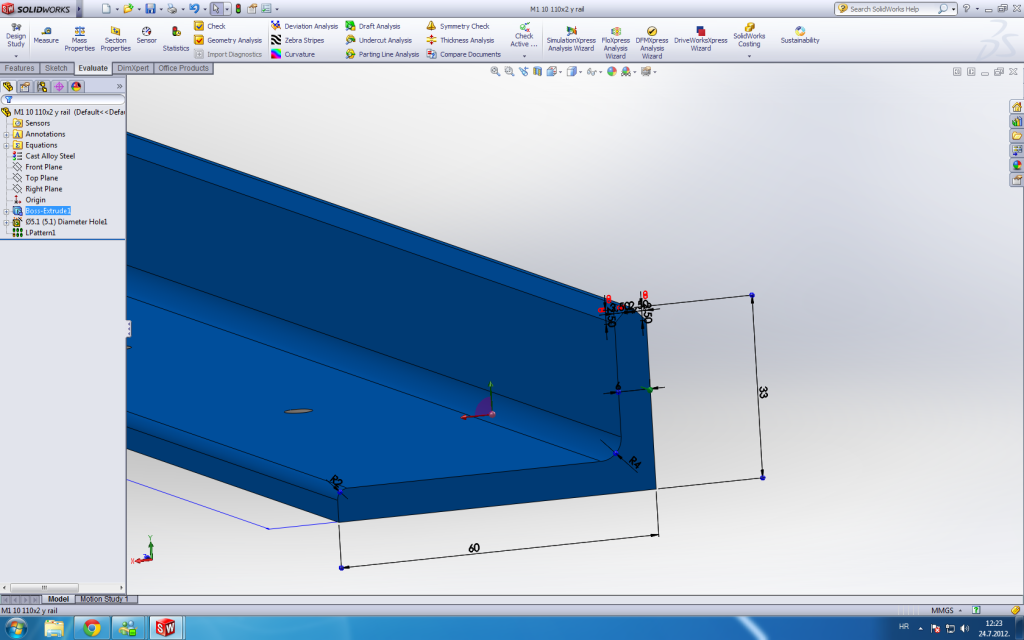
|
|
#67
Tue 24 July 2012, 04:51
|
|||
|
|||
|
There can be some small problems that can be fixed later. I would leave the rails at 33mm.
(All the small problems together can be fixed in an hour)
|
|
#68
Tue 24 July 2012, 05:15
|
|||
|
|||
|
Ah thx Gerald,
If the problems are fixed in an hour, then its better to leave it like it is, coz to grind it back again, would take me whole day again. Thanks again
|
|
#69
Tue 31 July 2012, 13:11
|
|||
|
|||
|
I must admit, that grinding rails a pain in the ars.
I am making adapters to grind it more easily. Just want to get one perfect line to level it, so i can start grinding 45 deg ones, but cant get it to work. Will post some pictures tommorow. A pain!!!
|
|
#70
Thu 02 August 2012, 16:53
|
|||
|
|||
|
Marko are you useing sandpaper or a grinding disk? 36 grit makes very short work of the grinding with no glazing.
|
|
#71
Fri 03 August 2012, 05:31
|
|||
|
|||
|
im using grinding disk, but it is wasted after od 20 mins of grinding so I am getting anoyed about it.
Will consider sandpaper disk, just to try it.
|
|
#74
Fri 03 August 2012, 16:59
|
|||
|
|||
|
Thanks guys,
Today I have made a sand paper grinding disc and in 40 mins, i have finished flat grinding to 0.1 mm accuracy. Regular grinding discs are a very bad solution, and if not distracted too much, i belive sunday morning the rails will be finished. So far I was looking for the flatest surface I could find, and after 10 adapters, I have seen in this links that I can use side of the "I" profile which is darn flat. Tommorow will picture all the adapter I was making to get the rails as good as I want them. This was a great help, coz I lost 8 days figuring out how to do it perfect, and now I got it. got drunked today to celebrate it.
|
|
#75
Fri 10 August 2012, 02:26
|
|||
|
|||
|
Another minor problem occurred,
The bending guy bed me this profile 10 20 451 to the wrong way/side. So i guess the motor will be turned in opposite direction. But I dont see any problems there so far. Can anyone confirm that its not a big deal? Im trying to upload picture, but somehow i cant get it up. It is the profile where the Y motor will be mounted.
|
|
#76
Fri 10 August 2012, 02:55
|
|||
|
|||
|
It should make no difference what way it's bent, other than astethics.
|
|
#77
Wed 15 August 2012, 15:36
|
|||
|
|||
|
here are some pics of recent work.
Have a video of the manual mate somewhere, but will post it tommorow. 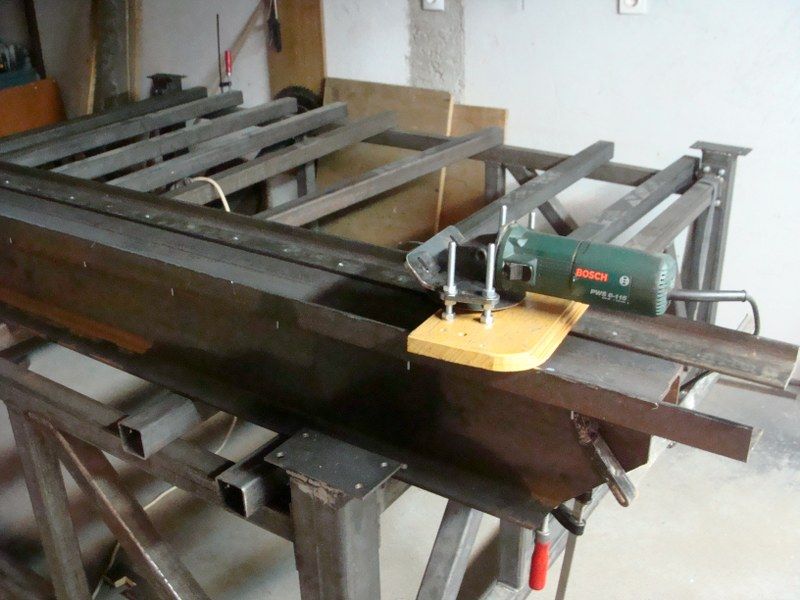 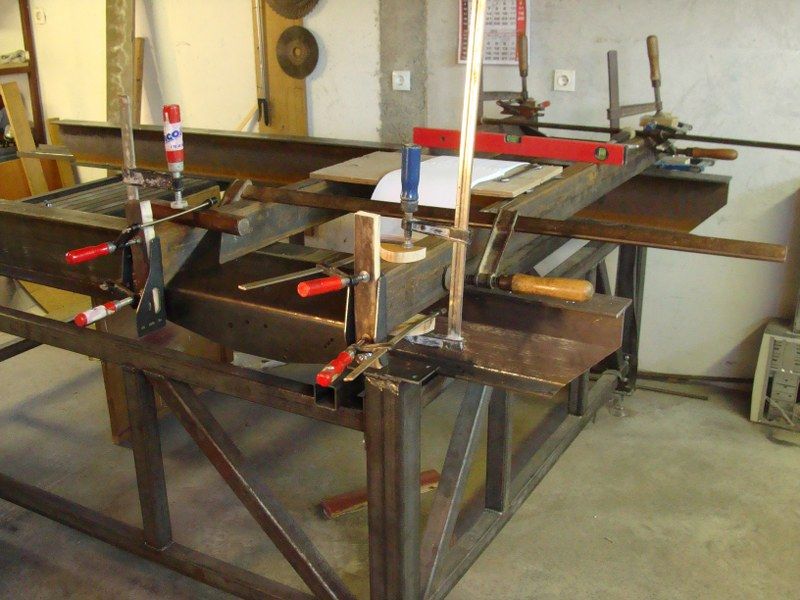 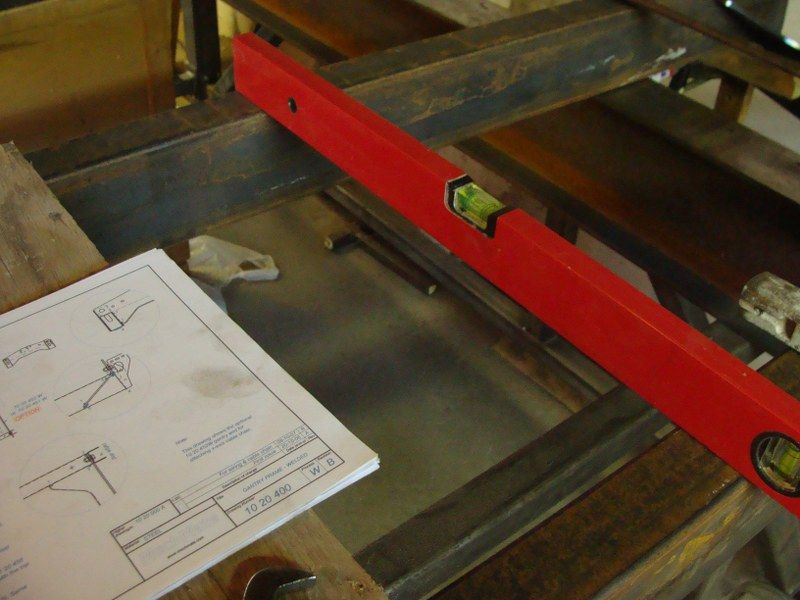 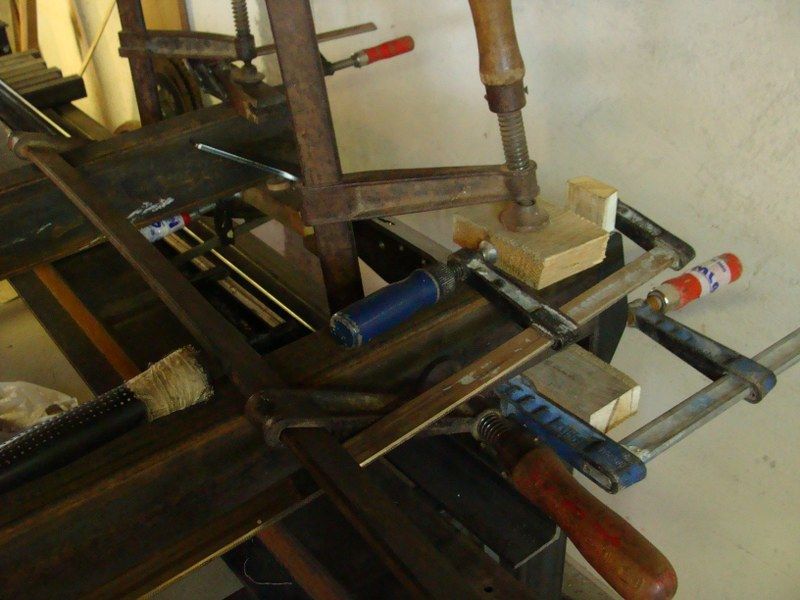 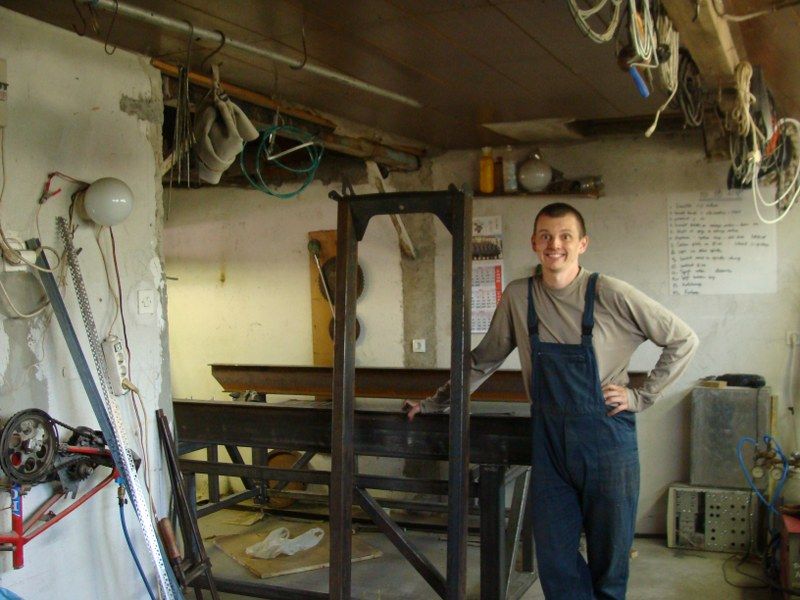 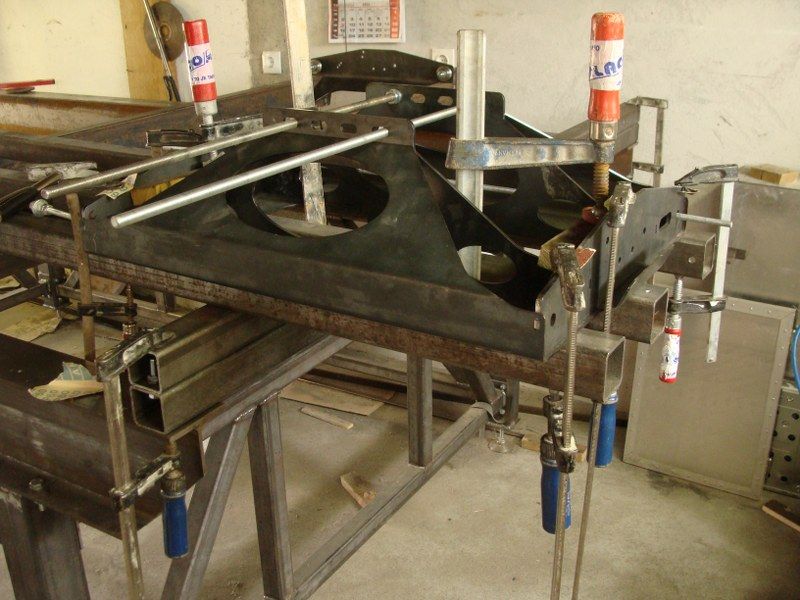 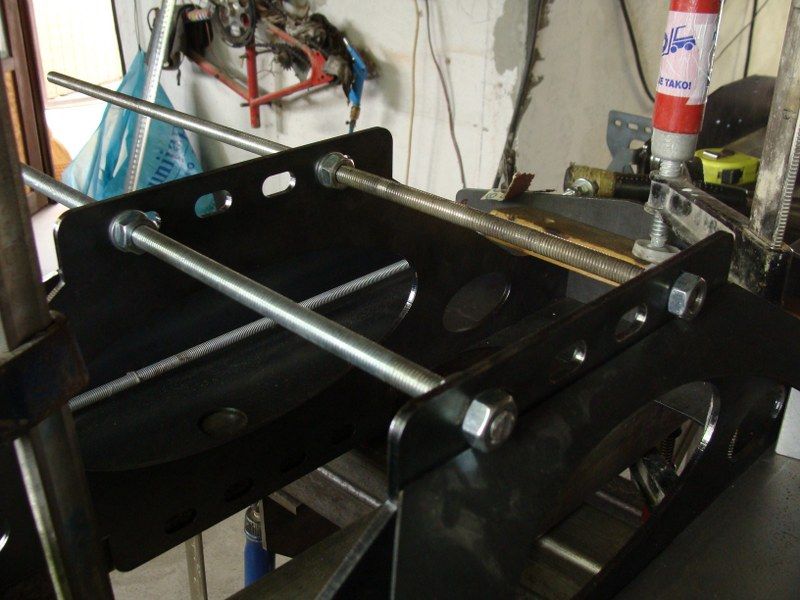 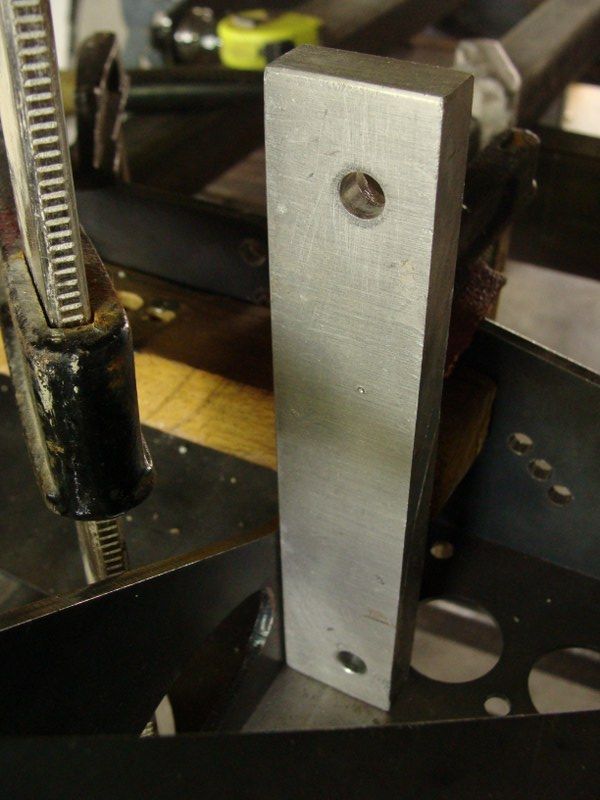 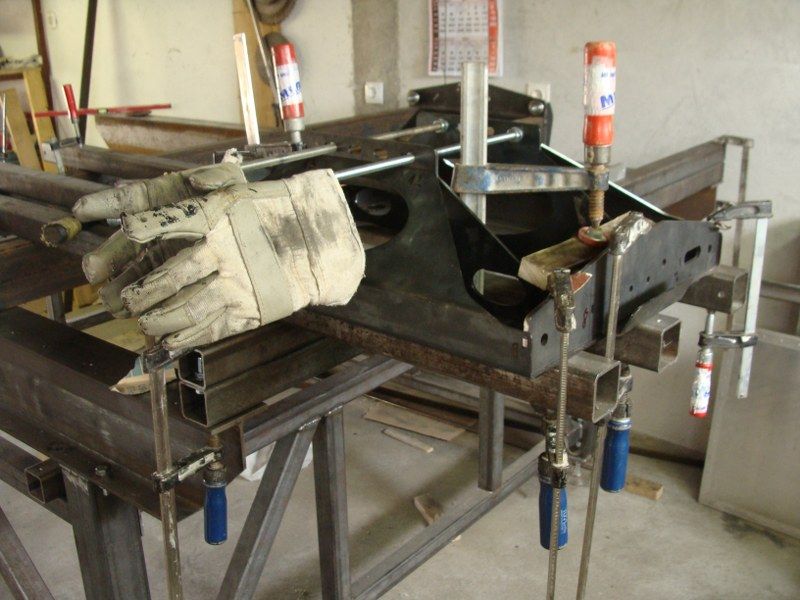 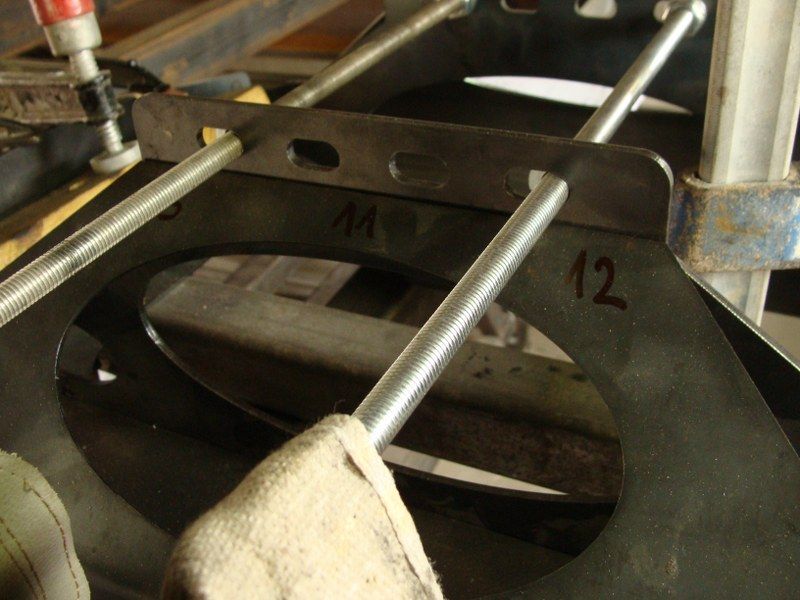 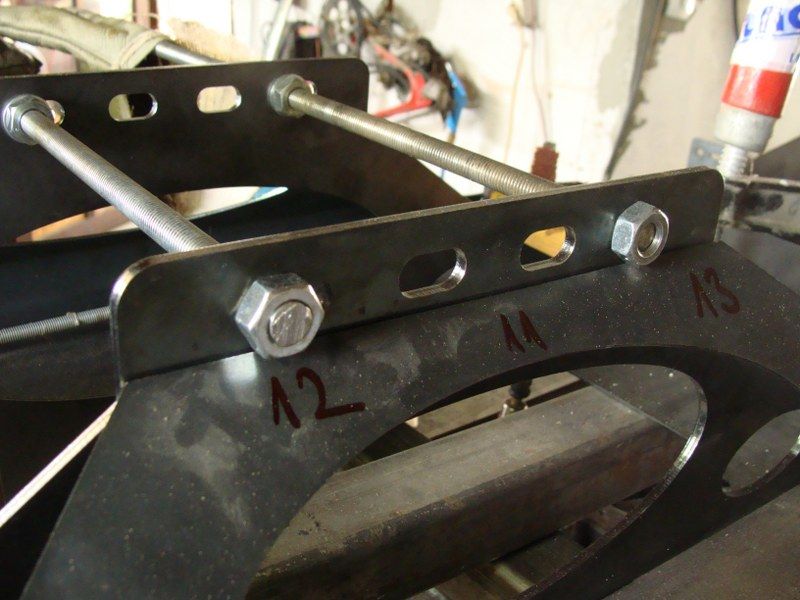 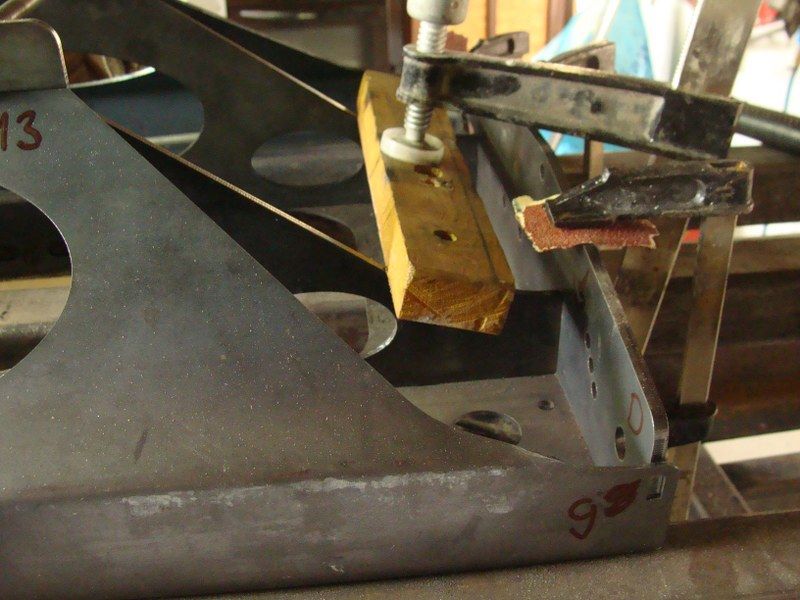   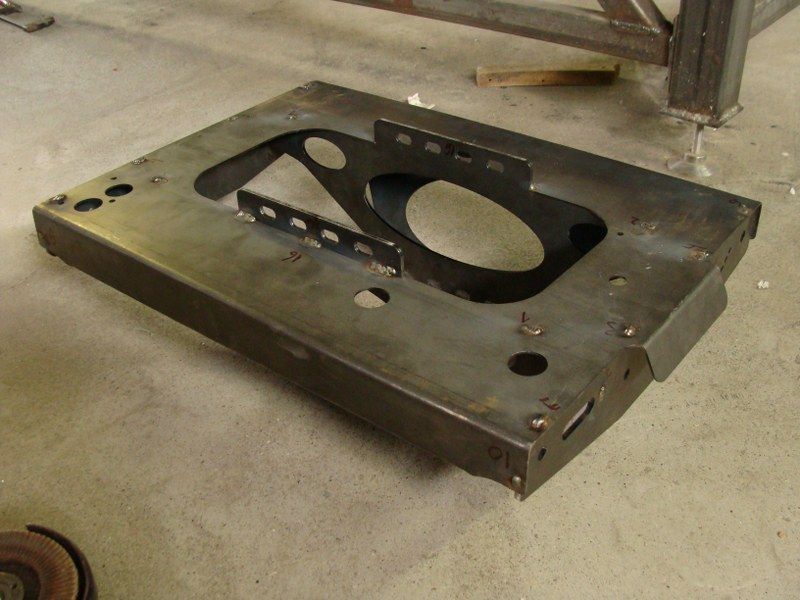 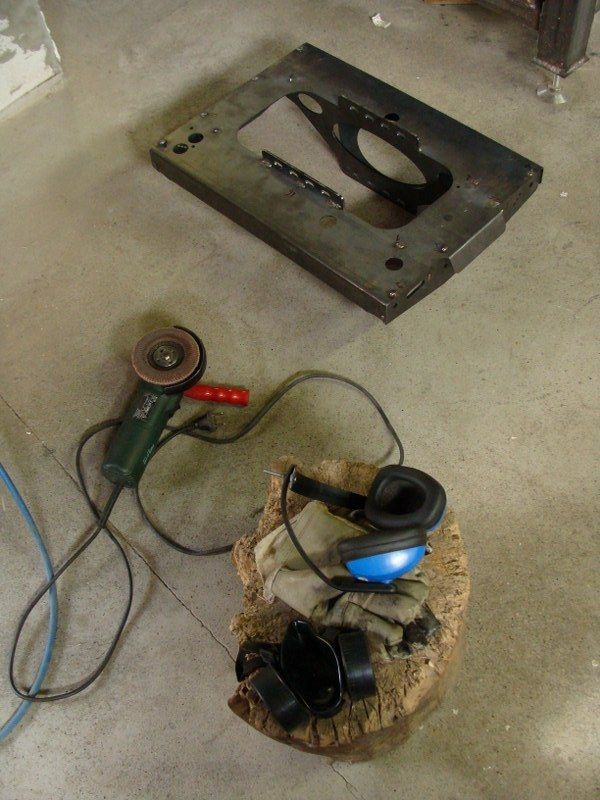 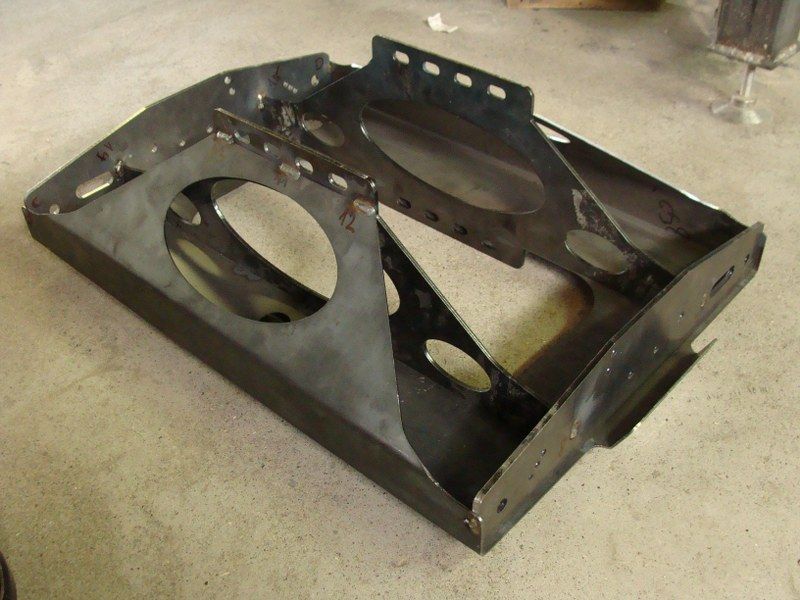 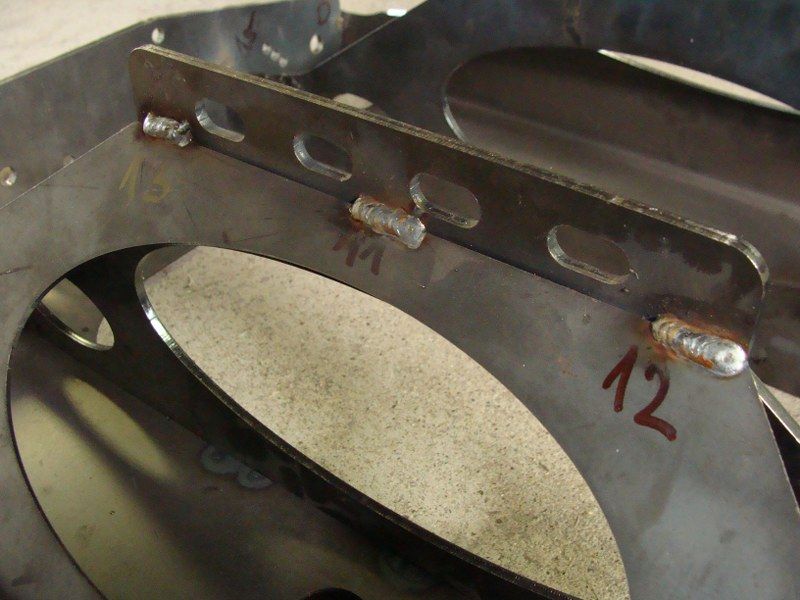 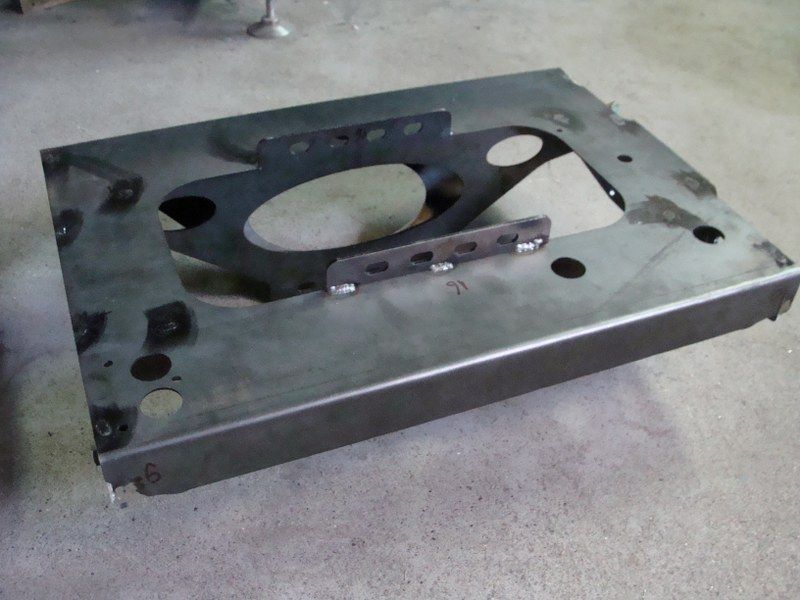
|
|
#78
Wed 15 August 2012, 15:43
|
|||
|
|||
|
NICE,(samo naprijed).
|
|
#79
Thu 16 August 2012, 14:30
|
|||
|
|||
|
|
|
#80
Tue 28 August 2012, 08:23
|
|||
|
|||
|
I made a blog about the MM, while planning to acquire some missing parts.
http://lopataos.blogspot.com/
|
|
#81
Thu 30 August 2012, 04:30
|
|||
|
|||
|
Well, i need some help regarding the reduction belts and pulleys.
If anyone has any decent shop for these pulleys, and belts together, I would much appreciate. The reduction casing and spindle holder will try to cut with friends wooden cnc, hope it will work. was looking for something like this, http://www.ebay.com/itm/Flanged-15-T...ht_1474wt_1163 But there is no 45 teeth. Also, I was planning to take 20 and 60 teeth, but Danilo told me that i need to make reduction casing bigger. So if anyone has any plans about it, please share it. Last edited by marko cro; Thu 30 August 2012 at 04:54..
|
|
#82
Sat 01 September 2012, 04:29
|
|||
|
|||
|
Hi Marko
You are very through, your numbered welds on the C Car show good attention to detail. I also looked at your ebay source for pulleys but they did not have what my design called for. Most people have used a 15 and 45 tooth pulley combination to get 3:1 reduction rather than your 20 and 60 tooth solution. If designing your own belt reduction drives this link to a pulley belt length calculator will be very helpful http://www.sdp-si.com/cd/default.htm The distance between the pulley centers will have an effect on the number of teeth that make contact on the smaller pulley. There are limits to how far apart you might want to make the pulley centers as it can potentially interfere with clearances. An example of this would be on the C Car motor extending below the bottom of the gantry tube. There is a thread about belt reduction drives in Common Assemblies and Parts, Driving Mechanisms on this forum, you probably should read every word of it. http://www.mechmate.com/forums/showthread.php?t=366 Regards Ross
|
|
#83
Tue 23 October 2012, 16:29
|
|||
|
|||
|
Long time no see, but in the meantime i was working on my brain(finishing college), and lately working on my MM.
Thank you Ross, I decided not to go for now on reduction, but to build my own casing for reduction gears, maybe even pulleys. Here is a short and stupid video done today with my MM. http://www.youtube.com/watch?v=afiYwoe2LnM
|
|
#84
Tue 23 October 2012, 23:21
|
|||
|
|||
|
|
|
#86
Thu 01 November 2012, 12:52
|
|||
|
|||
|
Hi Harduin,
I ordered it from Danilom from this forum. Maybe you can check it out, or there is someone closer then him. Today's update: Was working whole day, but it was worth it . I hope tommorow to finish the grinding and getting ready for painting. Will be a fun day tommorow 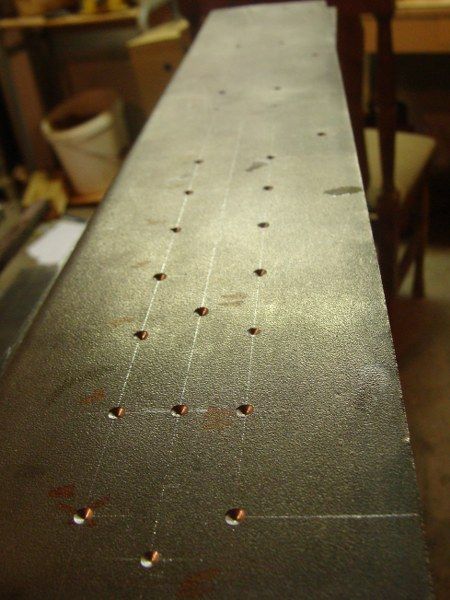 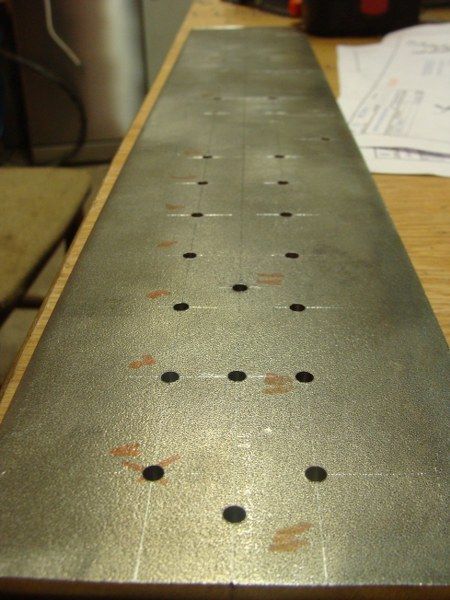  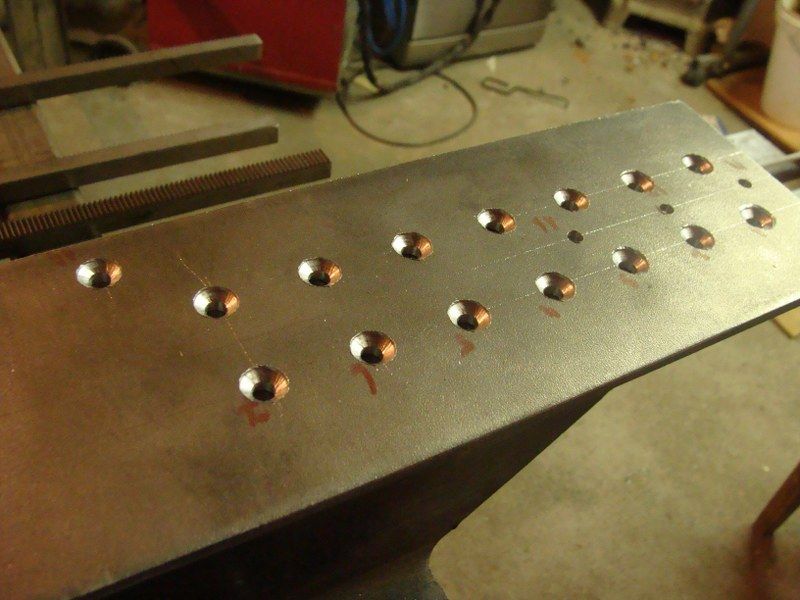 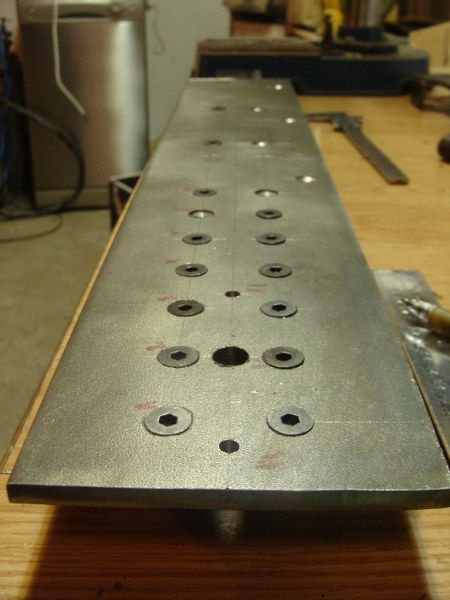 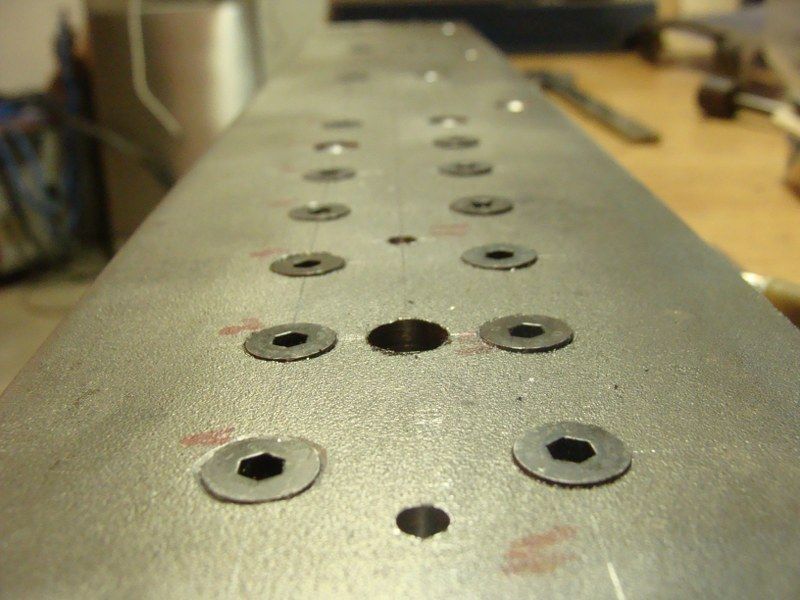 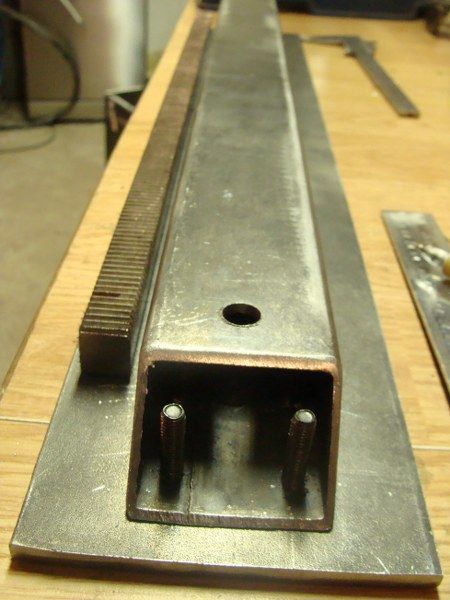
|
|
#87
Sat 03 November 2012, 11:27
|
|||
|
|||
|
I encountered a problem while assembling spider plate wheels.
The distance center to center between holes for wheels is 131 instead of 132 like in plans. A benders error, its ok. With eccentric bolts, i am still 4-5 mm short if the plate in the picture above is 100 mm. I have the plans for a long time, were there any changes? calculating the wheels, the spider plate and everything, there is no way that the wheels can fit to the plate. Looking for a quick solution, but i think ill drill a new holes or grind the plate.
|
|
#88
Sat 03 November 2012, 11:29
|
|||
|
|||
|
Holes are drilled after bending and should be drilled at distance you need.
Weld the holes and drill new ones.
|
|
#89
Sat 03 November 2012, 11:35
|
|||
|
|||
|
Ty Danilo, i guess the guy who bended it, saw the distance 132 and decided to drill it, which I overlooked.
This actually makes my work much easier.
|
|
#90
Sun 04 November 2012, 22:23
|
|||
|
|||
|
It looks like you may also need to countersink the holes a little more on the Z-slide. The heads standing proud of the steel plate may be an issue, depending on your attachment to the router...
|
 |
|
|
 Similar Threads
|
||||
| Thread | Thread Starter | Forum | Replies | Last Post |
| First Project Completed! #106 - NL Canada | cleyte | MechMates already cutting | 48 | Tue 23 May 2017 21:42 |
| Not a MechMate but it is cool | sailfl | Miscellaneous / General / Whatever / Catchall | 10 | Thu 06 May 2010 14:59 |
| Free Software and other cool stuff | seaboardironworks | Graphics & CAD | 0 | Sun 25 April 2010 07:29 |
| On to other Cool Projects #43 - Arad, Romania | Claudiu | MechMates already cutting | 205 | Wed 24 February 2010 23:07 |
| Cool front panel joint | WTI | Miscellaneous / General / Whatever / Catchall | 0 | Sat 07 June 2008 15:53 |


